OSCAR WONG
Dance Dance Revolution Controller
After graduating from the University of Illinois, I no longer had access to their DDR machine, so I decided to build my own set of pads at home. First, I modeled the design in Solidworks. As I don't have any equipment at home aside from a cordless drill, I designed it to use entirely off-the-shelf parts.
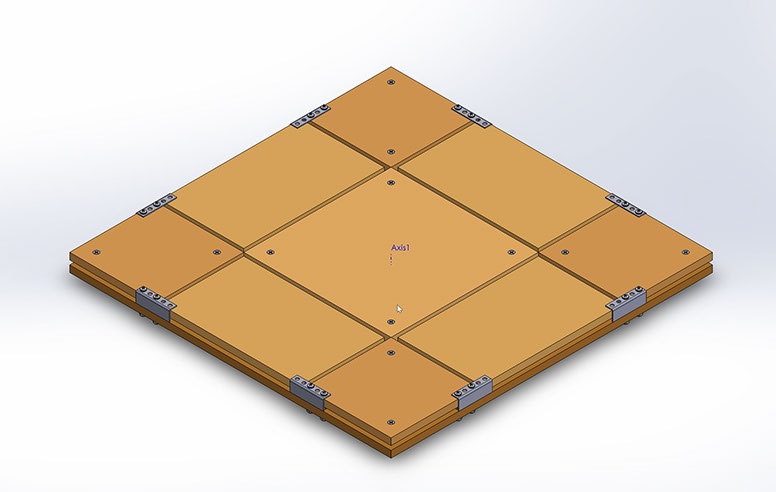
Completed CAD model.
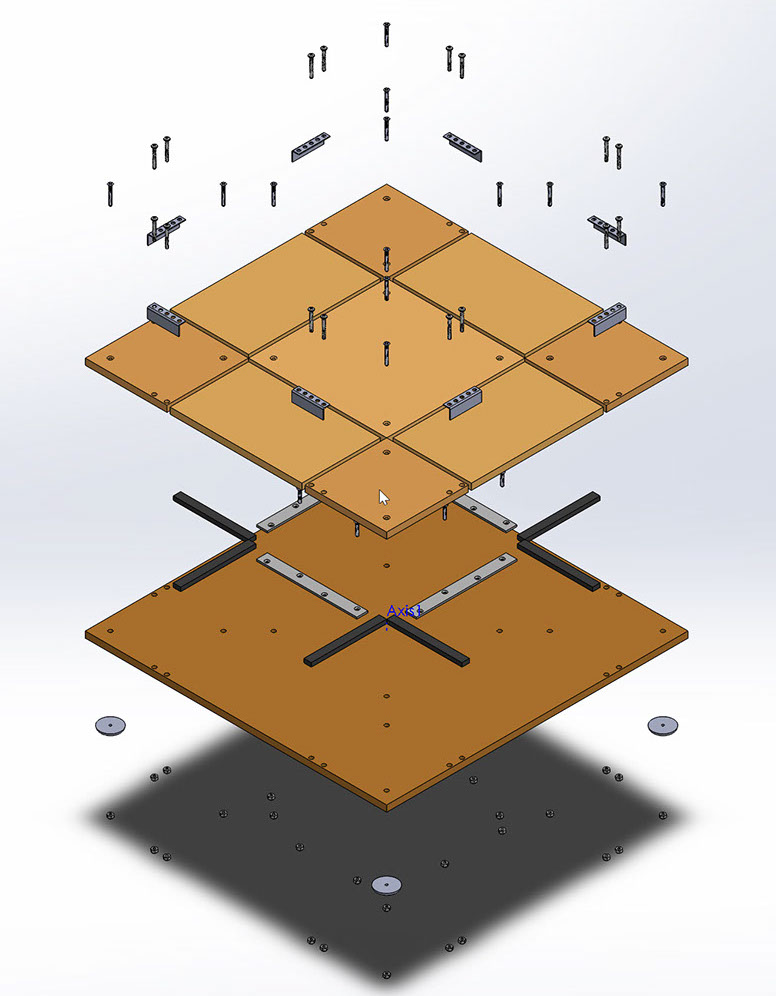
Exploded view.
Next, I prepared a BOM of all the parts and hardware I would need, as well as the required tooling to fabricate the pad. I additionally noted the location of each item listed online to speed up shopping at the hardware store. Not included here are parts that I already had: duct tape for sealing the plywood, 22awg solid wire, and an Arduino Leonardo that I would use to interface with the computer.
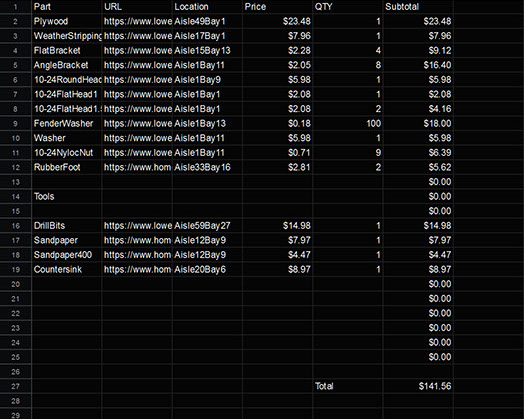
The BOM.
Fabrication was straightforward. I had Lowe's cut a single 2x4' sheet of plywood into the required dimensions, which I then sanded and sealed with duct tape. Four metal bars on the inside of each panel were daisy-chained together to act as a common ground. Weather stripping acted as a compressible material to spring the step panels back up.
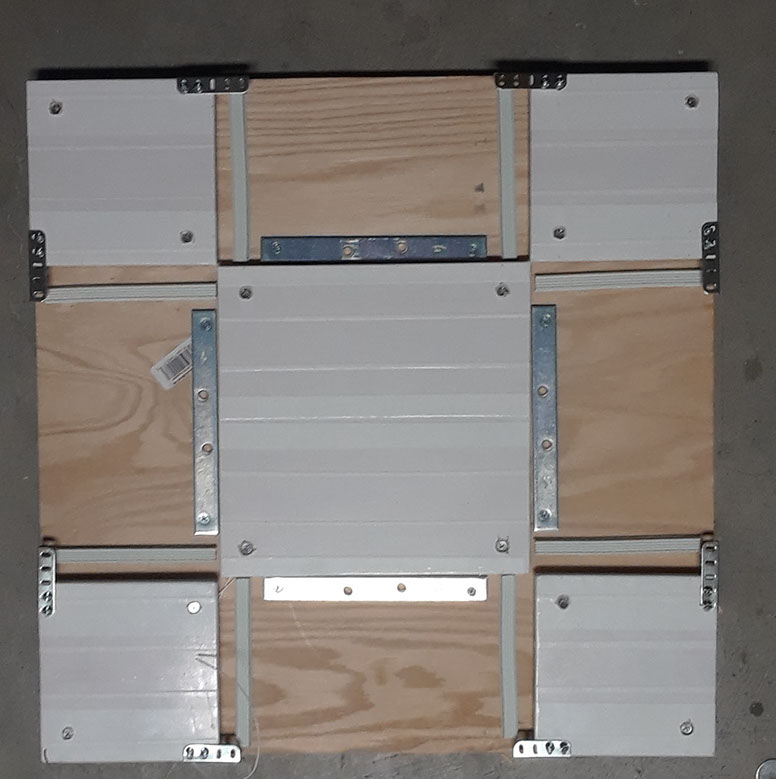
The base of the pad, minus step panels.
Each step panel had a layer of conductive foil tape placed underneath it. Stepping on these would force the foil tape in contact with the ground bar, completing a circuit which the Arduino would recognize as a key press.
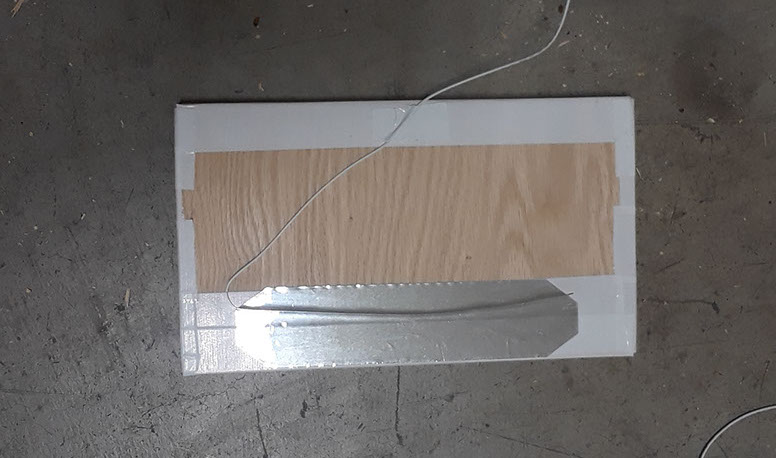
The underside of a step panel.
After slotting the panels into the pad and wiring them to the Arduino, the pad was ready for play.
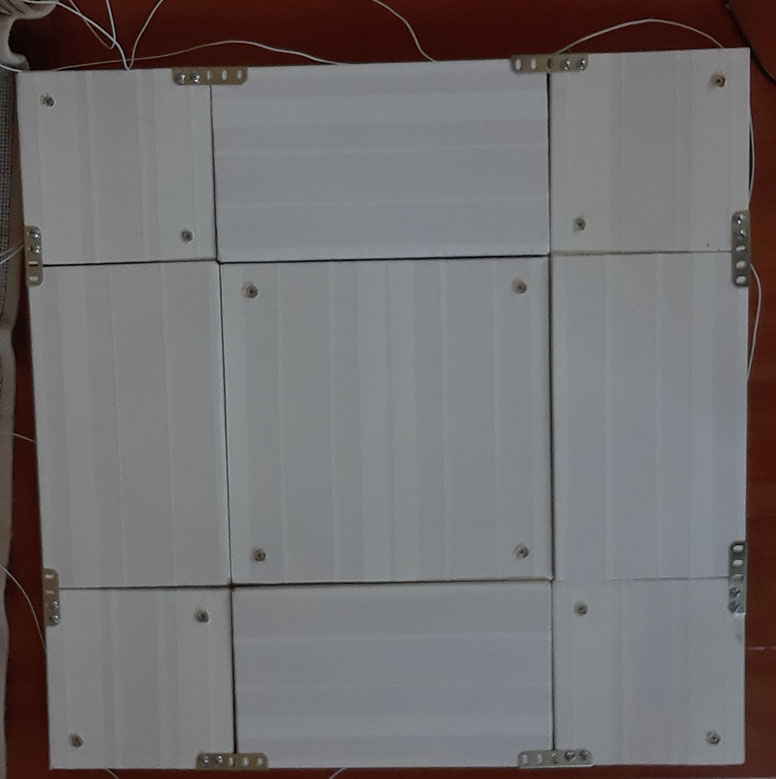
The finished pad.
